Matthew Moloney
Portfolio - Graduation Cap
Graduation Cap
This was something I did for fun on my graduation cap. I used an Arduino Uno attached to a 9V battery to control different sets of LEDs I place on my [WORD FOR GRADUATION CAP]. I wish it would have turned out a little sharper but I had fun and learned a lot doing this.
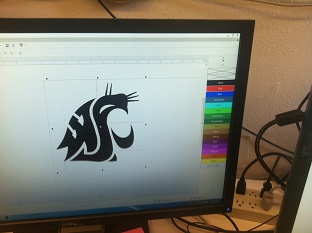
First thing was to take the cougar and turn it into a .dxf file type, cutting out where the light needed to be seperated at.
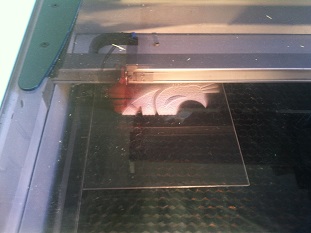
Here was the laser cutter etching the plexi-glass. Getting the laser cutter to etch the whole image without warping it from the heat proved to be a challange. Multiple run-throughs with varying frequency/speeds were used to get it right.
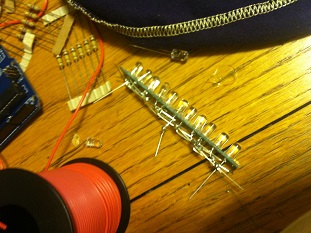
To connect all the lights together a perf board was cut on a band saw into 2X20 sections, allowing the lights to be placed and then soldered together.
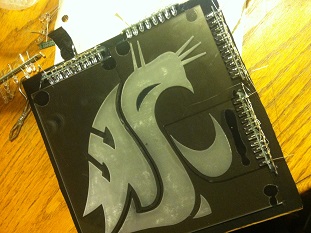
After finishing the light busses they were mounted on the cap into different sections to allow different colors. For example the red LEDs were placed on the top while the white LEDs were placed on the side, so when they lit up seperately the same effect can be achieved.
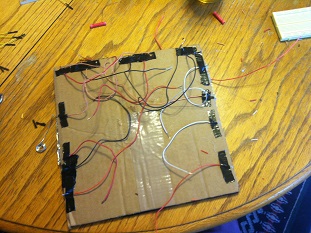
After all the LEDs were soldered and mounted they were then wired to one spot. This allowed all the grounds to be crimped on one end while the alternating reds and whites were crimped seperately. One last crimp was made on all of the constant on red LEDs.
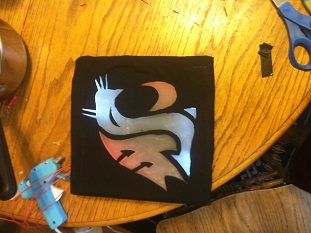
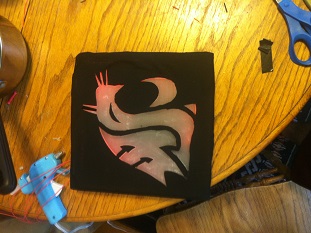
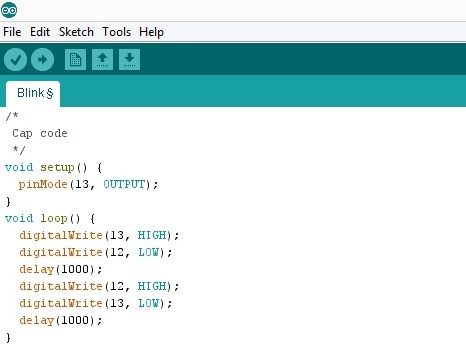
The constant "on" wire was attatched to the Arduino's 5V always on while the alternating red and white were plugged into the Arduinos 12 and 13 slot. The code is as shown below